Costumes and Animations#
Every actor can have one or more costumes. These costumes consist of one or more images that can be used for animations.
Note
If you’re looking for the attributes and methods of the Costume class in the API,
you’ll find them under the Appearance class.
Appearance is the superclass of both Costume and Background, as backgrounds and costumes share many properties.
Adding a Costume#
You can add a new costume to an actor using the following function:
self.add_costume("images/image.jpg")
If the actor doesn’t already have a costume, this will automatically become the first one.
Adding More Images to a Costume#
To expand a costume with additional images, you can use the add_image method:
self.costume.add_image("images/image_2.jpg")
Alternatively, you can add a list of images at once:
self.costume.add_images(["images/image_1.jpg", "images/image_2.jpg"])
Animations#
2D animations work like a flipbook: By quickly switching between images, the actor appears to move.
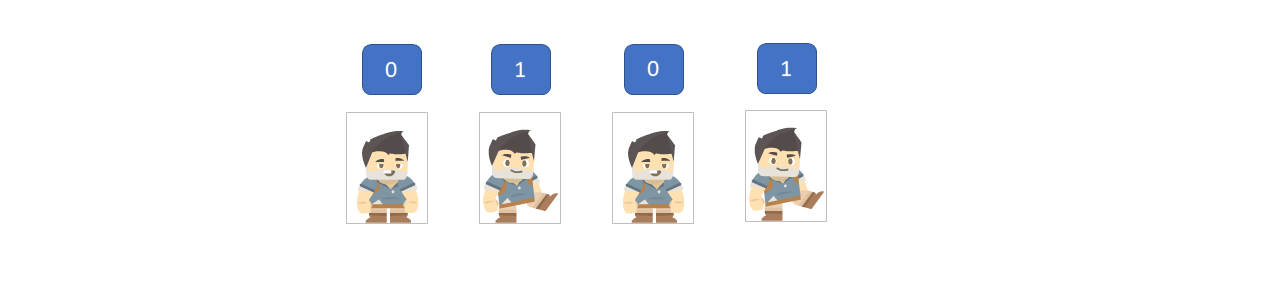
To create an animation, first add multiple images to a costume (see above).
Then, you can start the animation using the animate() method.
The loop parameter determines whether the animation should repeat:
my_actor.costume.animate()
robo.costume.animate(loop=True)  # Infinite animation
Example:#
import miniworlds

world = miniworlds.World(80, 80)

robot = miniworlds.Actor()
robot.size = (80, 80)
robot.add_costume("images/drive1.png")
robot.costume.add_image("images/drive2.png")
robot.costume.animate()           # Start animation
robot.costume.loop = True         # Loop animation forever
world.run()
Switching Between Costumes#
To switch between different costumes, use the switch_costume method:
self.switch_costume()
This will switch to the next costume in the list. Optionally, you can pass a number to switch to a specific costume directly:
self.switch_costume(1) # Switches to the first costume